
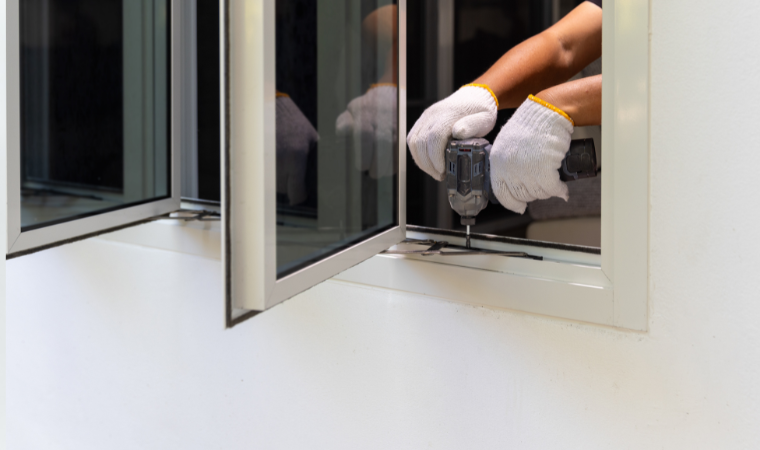
Understanding how to install windows in new construction is essential for ensuring long term durability, energy efficiency, and structural integrity. Unlike replacement windows, new construction windows are installed before exterior siding is finished and typically include a nailing flange that secures the unit directly to the wall framing. Proper installation prevents air leaks, water intrusion, and costly repairs later.
Below is a step by step guide that explains the process clearly and practically.
Step 1: Prepare the Rough Opening
Before installing the window, the rough opening must be properly framed and inspected.
Check the following:
- The opening width and height match manufacturer specifications
- The sill is level
- The sides are plumb
- The header is structurally sound

If the opening is out of square, adjustments must be made before proceeding. Small framing errors can cause operational problems once the window is installed.
Step 2: Install Flashing at the Sill
Water management is one of the most important parts of how to install windows in new construction. Flashing protects the framing from moisture damage.
Start by installing sill flashing:
- Apply self adhesive flashing tape along the bottom of the opening
- Extend the flashing a few inches beyond both sides
- Press firmly to eliminate air bubbles
Some builders also install a sloped sill pan to direct water outward. Proper flashing ensures any moisture drains away instead of soaking into the wall.
Step 3: Dry Fit the Window
Before applying sealant, place the window into the opening to confirm proper fit.
Check that:
- The window sits flat
- The nailing flange aligns evenly with the sheathing
- There are consistent gaps around the frame
Remove the window after confirming fit. This step avoids surprises once sealant is applied.
Step 4: Apply Sealant to the Flange
Apply a continuous bead of exterior grade sealant to the back of the top and side flanges. Do not apply sealant to the bottom flange. Leaving the bottom unsealed allows water to escape if it gets behind the window.
This detail is critical when learning how to install windows in new construction correctly. Sealing all four sides can trap water inside the wall system.
Step 5: Set and Secure the Window
Carefully place the window back into the opening from the exterior side.
Have someone inside help center and hold it in place. Once positioned:
- Insert fasteners through the top flange first
- Check for level and plumb
- Shim as needed
- Secure the side flanges
- Fasten the bottom flange last
Avoid overtightening, as this can distort the frame and affect operation.
Step 6: Check Operation and Alignment
Before continuing, open and close the window to ensure smooth operation. The sash should move freely without rubbing or sticking.
If adjustments are needed, loosen fasteners slightly and reposition shims until alignment is correct. Taking time at this stage prevents future issues.
Step 7: Install Exterior Flashing Tape
After the window is secured, apply flashing tape over the side flanges first. Then apply tape across the top flange, overlapping the side pieces.
This layering method directs water downward and outward. Never tape the bottom flange.
Correct flashing technique is one of the most important aspects of how to install windows in new construction because it protects the home from long term moisture damage.
Step 8: Insulate the Interior Gaps
From inside the home, fill the gap between the window frame and framing studs with low expansion spray foam insulation.
Use minimal pressure to avoid bowing the frame. Overfilling can cause the window to become misaligned.
After the foam cures, trim excess material flush with the wall.
Step 9: Complete Exterior and Interior Finishes
Once flashing and insulation are complete, siding or exterior cladding can be installed according to manufacturer guidelines.
Inside the home:
- Install trim
- Seal joints with caulk
- Paint or finish as needed
At this stage, the installation should be airtight, watertight, and fully functional.
Final Considerations
Learning how to install windows in new construction requires attention to detail, especially with leveling, shimming, and flashing. Always follow the specific instructions provided by the window manufacturer, as designs can vary.
Proper installation protects the structure, improves energy efficiency, and extends the life of the window. Taking time to complete each step carefully ensures long lasting performance and prevents expensive problems in the future.



